To begin monitoring devices, you must install the DCA and Cloud Connector agent. There are two ways to download the installer:
-
Via the NDD Orbix portal (recommended): the installer is generated customized for each customer, based on their settings and requirements.
We recommend using this option, as it reduces the need for additional configuration after installation. -
Via the default installer: the installer is the same for all customers and requires further configuration in the NDD Orbix portal.
We recommend using this option only as an exception.
Instructions
Download the default installer
-
Check the installation prerequisites at Prerequisites for installing the DCA and Cloud Connector agent
-
On the portal, create the client as instructed at Create customer, site and department
-
After creating the client, download the DCA and Cloud Connector installer file:
NDD_DCAandCloudConnector_1.2.25.exe
-
Run the installed file
-
Select the desired language and click on Próximo
First, the NDD - Queues Monitor, Microsoft .NET Runtime, Microsoft ASP.NET Core Runtime, and EpsonNet SDK for Windows applications will be installed. If they are already installed, steps 6 through 8 will be skipped, and the installation will proceed from step 9.
-
Click Next on the prerequisite installation welcome screen
-
Click Next to start installing the prerequisites
-
Wait for installation
Once the prerequisites have been installed, the installation of the DCA and Cloud Connector agent will begin.
-
Click Next on the agent installation welcome screen
-
Choose the Installation folder and Work folder and click Next
-
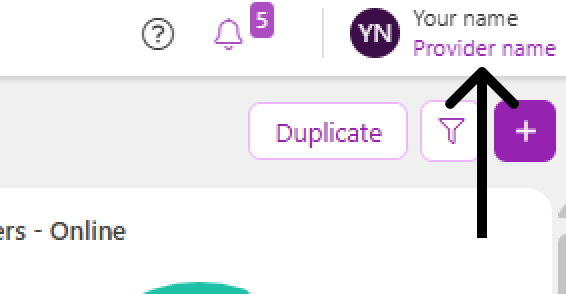
Enter the Provider name and Customer identification key and click Next
Tip
How to find information on the portal:
-
Provider name: in the upper right corner, below your name:
-
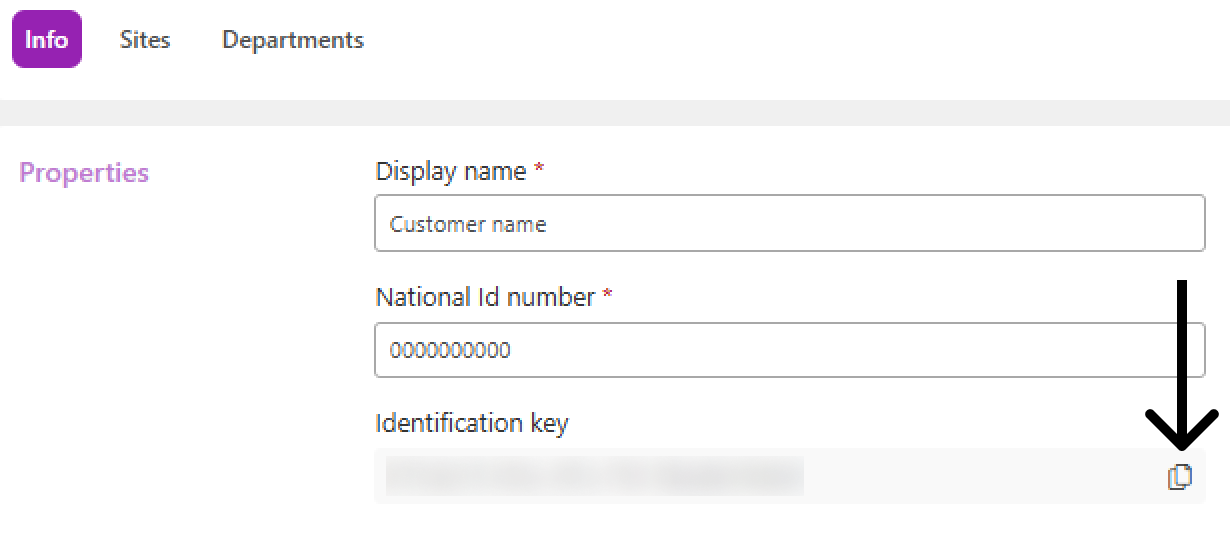
Customer identification key: in the customer properties:
-
Go to the Administration > Customers menu
-
Click on the name of the desired customer to open its properties
-
In the Info tab, copy the Identification key
-
Under Additional settings, if desired, select the type of communication (proxy or gateway) and click Next
-
If no option is selected, communication will take place directly between the agent and the portal
-
If Use proxy for communication with NDD Orbix servers is selected, enter the necessary proxy connection settings (address, port and authentication, if any) and click Next
-
If Use Gateway Connector to communicate with NDD Orbix servers option is selected, enter the address (IP or hostname) of the computer/server where the Gateway Connector was installed and click Next
The port will already be filled in with the default, but you can change it if you wish.
-
-
Click Install
-
Wait for installation and click Finish
After installation, access the documentation corresponding to your monitoring objective and follow the steps below: